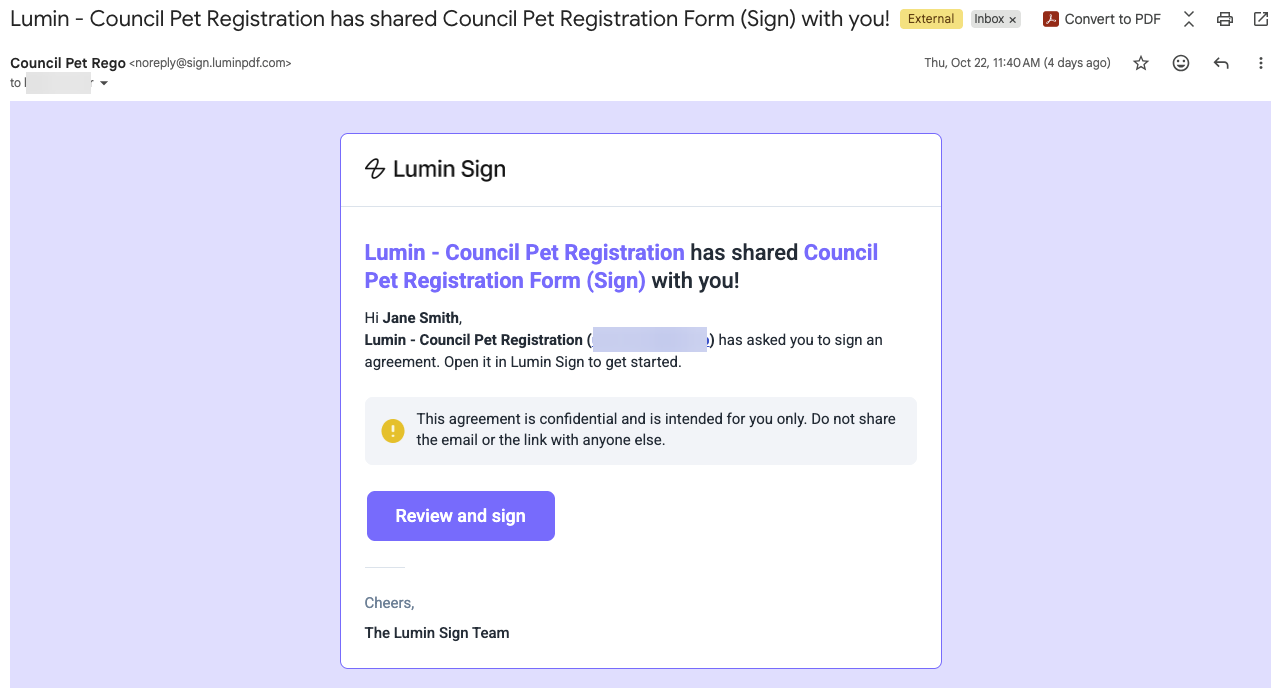
The Lumin integration allows you to map form data to Lumin Sign templates and automatically request signatures from one or more recipients after a form is submitted. This can be used to send agreements, consent forms, or authorizations for signing without anyone needing to prepare or send the document manually. Signers can sign in parallel or in a set order, based on how the template is configured in Lumin.
Important Note
You will need to have a Lumin account to use this integration.
Create a Lumin Sign Template
Before setting up the workflow event, you will need a signing template in Lumin Sign. The template holds the PDF, the signer roles, the signing order, and the fields each signer needs to complete.
Open Lumin Sign and go to My templates, Create template.
Upload the PDF you want to use.
Select Add signer roles. Define roles such as Applicant and Approver, rather than particular people.
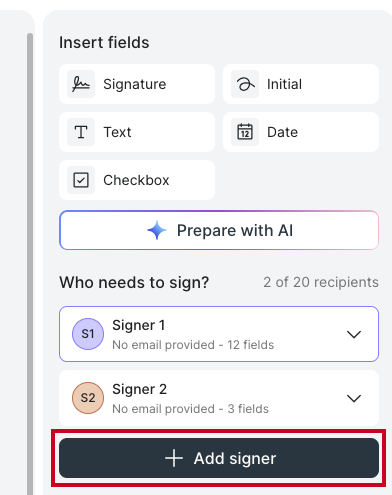
Configure the signing order. Choose simultaneous signing or an ordered sequence.
Place the signing fields on the PDF and assign them to the appropriate roles. For example, assign the applicant's signature field to Applicant.
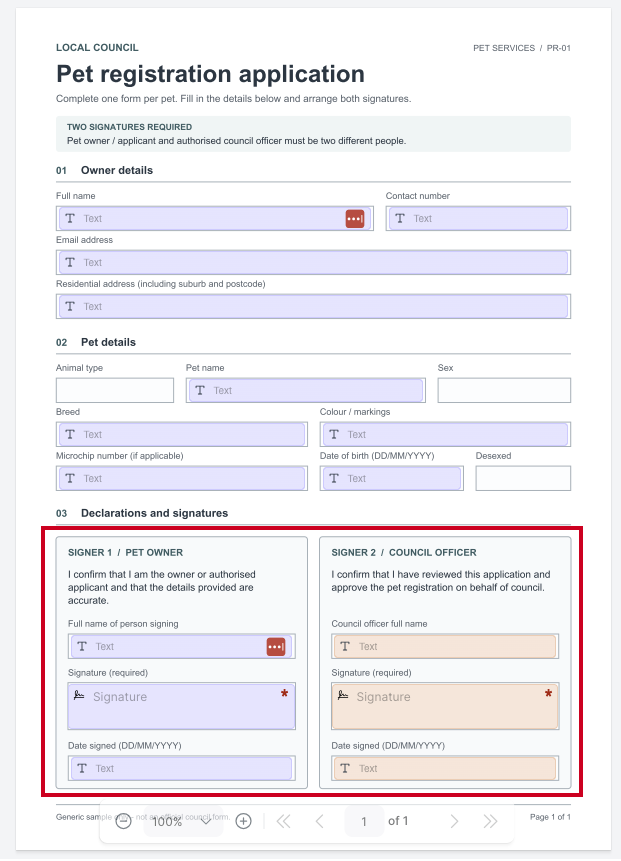
Select Save template. This saves the reusable configuration; it does not send a request to anyone.
Set Up the Integration
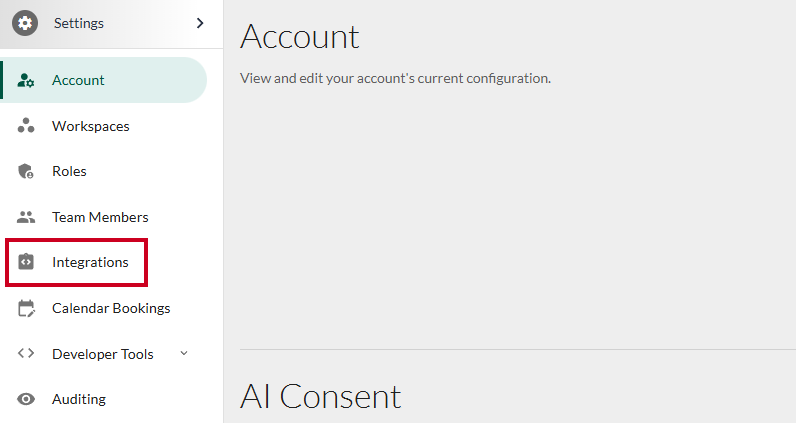
Navigate to the Workspace menu and click Settings
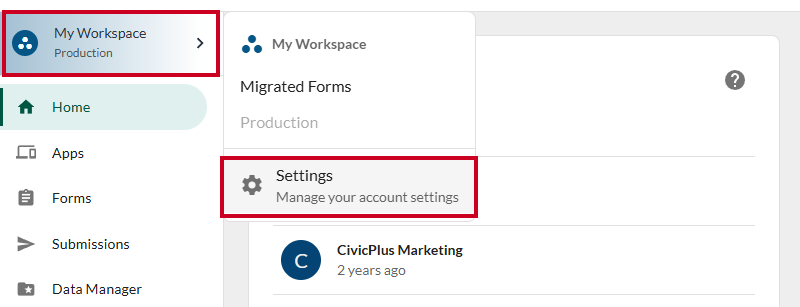
Select Integrations
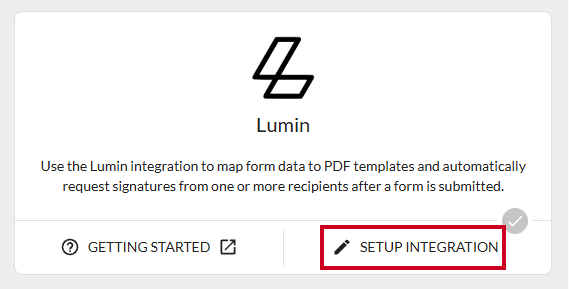
Select the Setup Integration button on the Lumin card
Enter your Lumin API Key and click Save
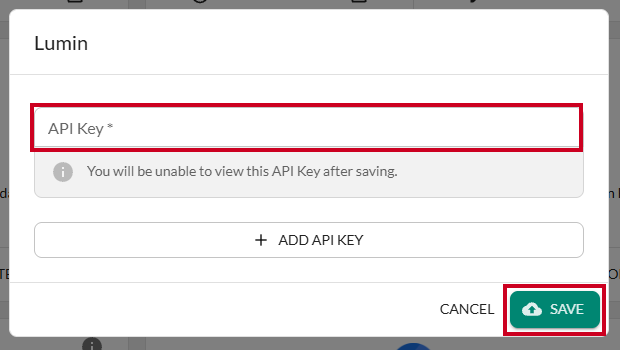
Note:
You will be unable to view this API Key after saving.
Add a Lumin Event to a Form
The Lumin: Request Signature workflow event will fill a Lumin Sign template with form submission data and send it to the configured signers. Lumin then emails each signer a link to the document and manages the signing process.
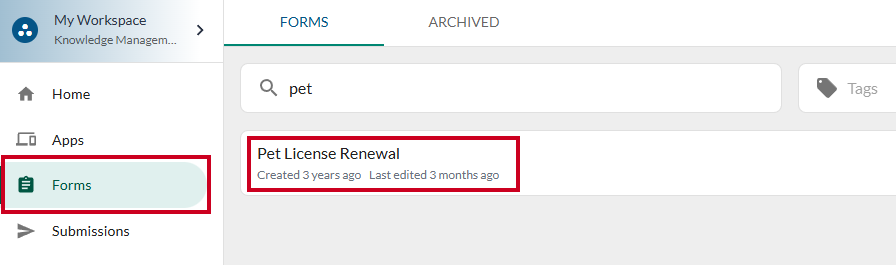
Navigate to the Forms tab and select your desired form
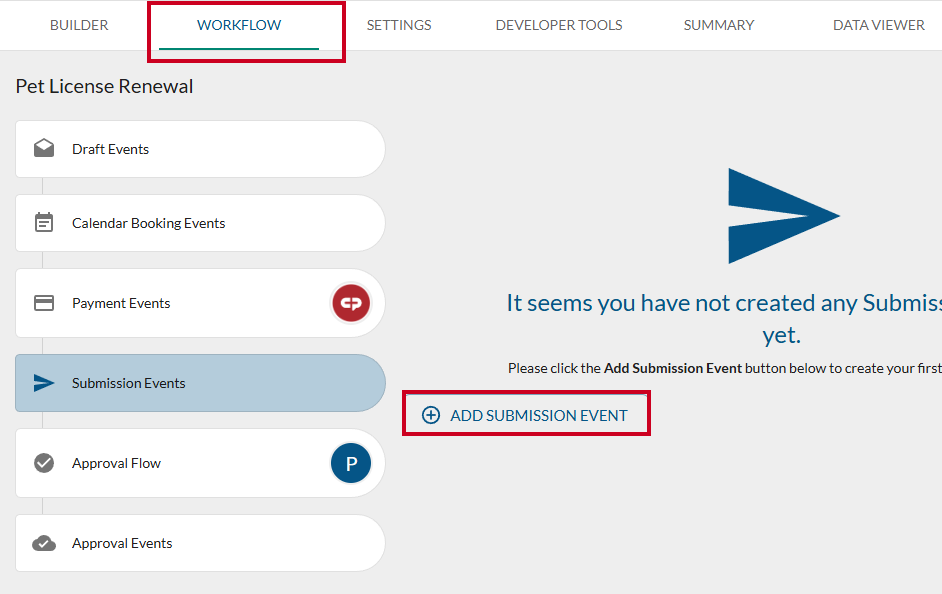
Select the Workflow tab and click Add Submission Event
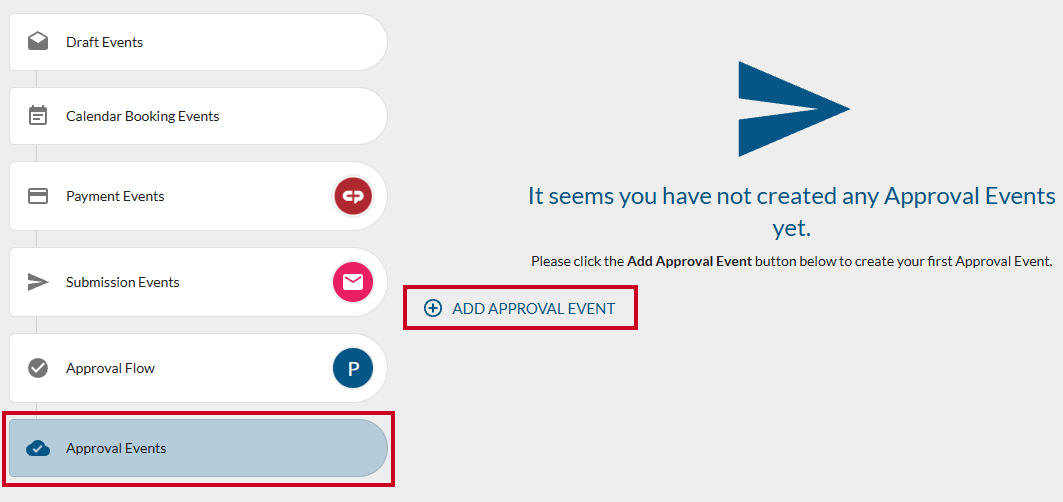
You can also create an Approval Event. The fields are the same for Approval and Submission events.
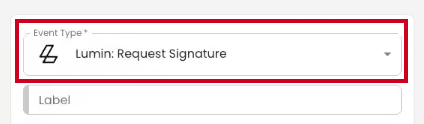
In the Event Type dropdown, select Lumin: Request Signature
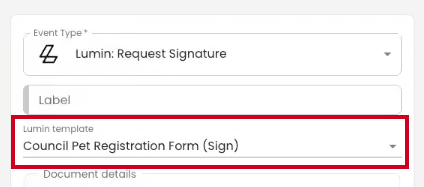
Select the Lumin sign template you wish to use from your Lumin account
Fill out the event fields:
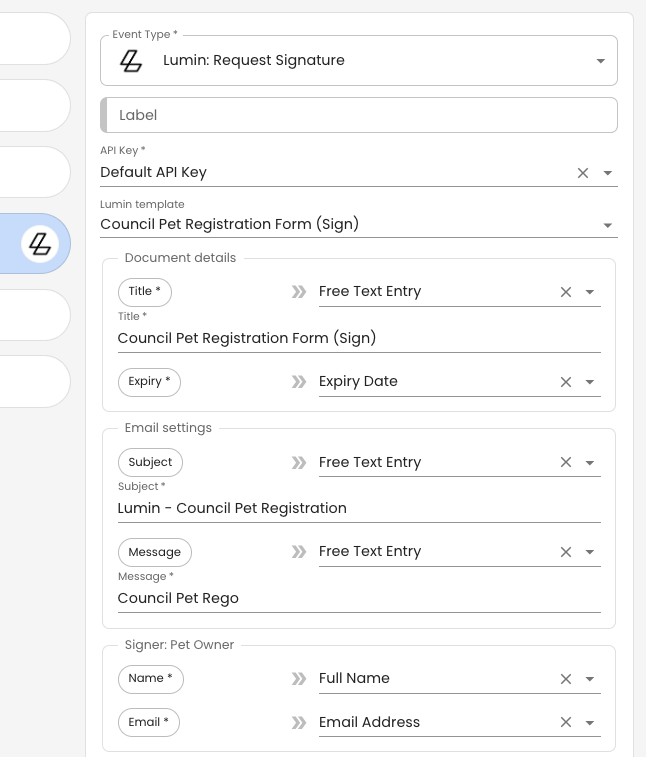
Document Details:
Title: The name of the agreement shown to signers in Lumin.
Expiry: The date the signing request expires. Map to a date field on the form for when the signature is due. This will use Lumin’s email notifications to let users know when the signatures are expiring.
Email Settings:
Subject: The subject line of the email Lumin sends to each signer.
Message: An optional message included in the email to signers.
Signer: For each signer, set the Name and Email address.
Form Fields: After selecting your template, the platform will pull in the template's fields and allow you to map form elements to them.
Run Conditionally: This allows you to run the workflow event when specific conditions are met.
Click Save

Now, when your form is submitted, the document is created in Lumin and each signer receives an email asking them to sign. The workflow event shows as successful in the submission's workflow status once the request has been sent to Lumin, or shows the error message if it could not be sent.