This article explains how to use the Branding feature to customize your Alerts and Polls with various branding options. Branding provides the ability to customize colors, logos, voice numbers, reply-to emails, and email footers with different information, such as individual departments' branding.
Important Notes:
If no brand is selected or configured, alerts will default to the CivicPlus branding.
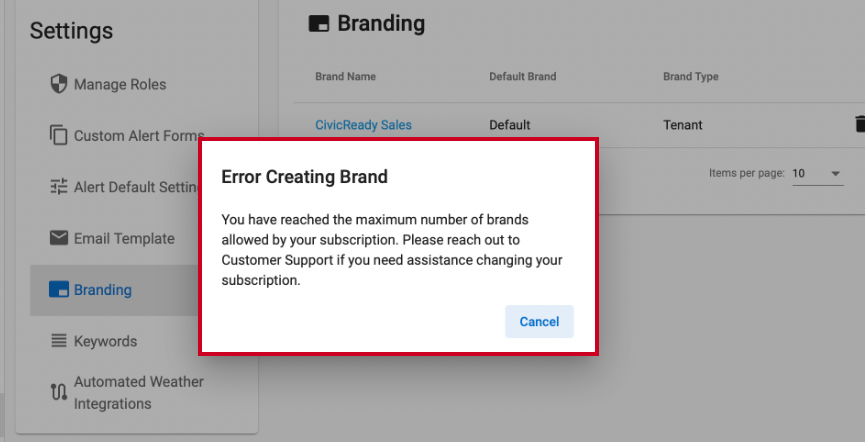
Core customers only have one brand. Pro customers can set up unlimited branding. If you are not set up as a Pro customer, you will get an "Error Creating Brand" message.
If a brand is associated with a template, you will not be able to delete that brand until the brand is no longer associated with the template.
Create a Brand
Sign in to the system if you have not already
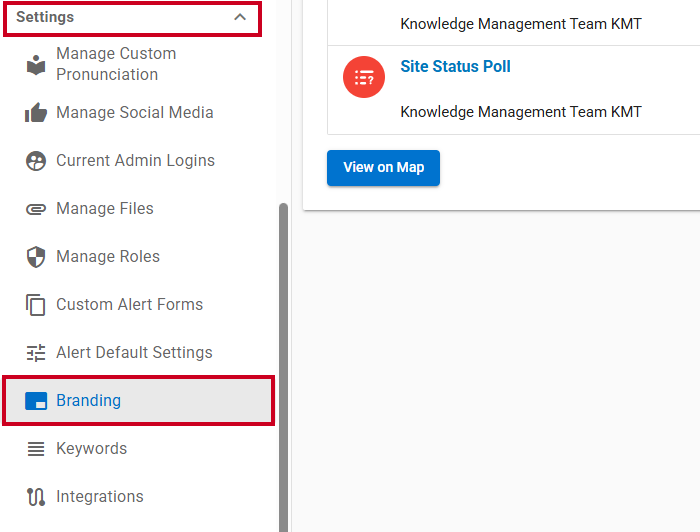
Navigate to Settings, then select Branding:
Click the plus-sign icon:

Fill in the Create Brand fields:
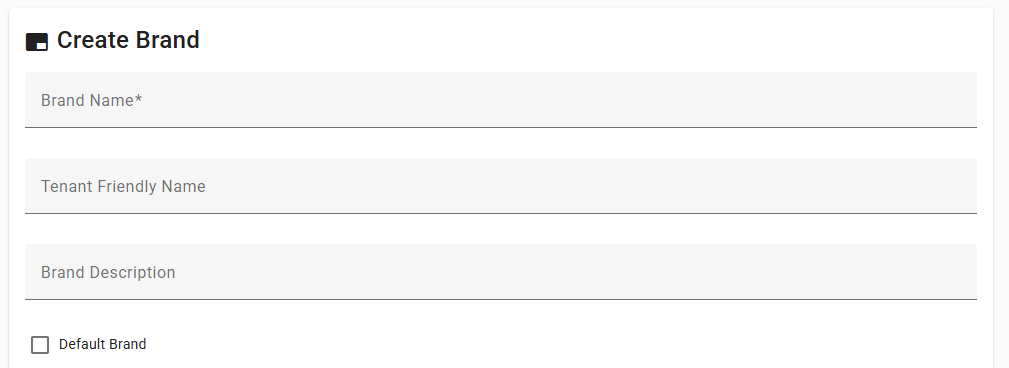
Brand Name (required): This name will be shown to the public. Must be between 1 and 250 characters.
Tenant Friendly Name: A friendly tenant name used for display and voice messages (with suffixes like “CP” removed). Must be no more than 250 characters.
Brand Description: Gives additional context to the Brand Name. Must be no more than 250 characters.
Default Brand: Check this option to make this brand the default for Alerts and Polls
Fill in the fields on the Theme - Colors and Logos tab:
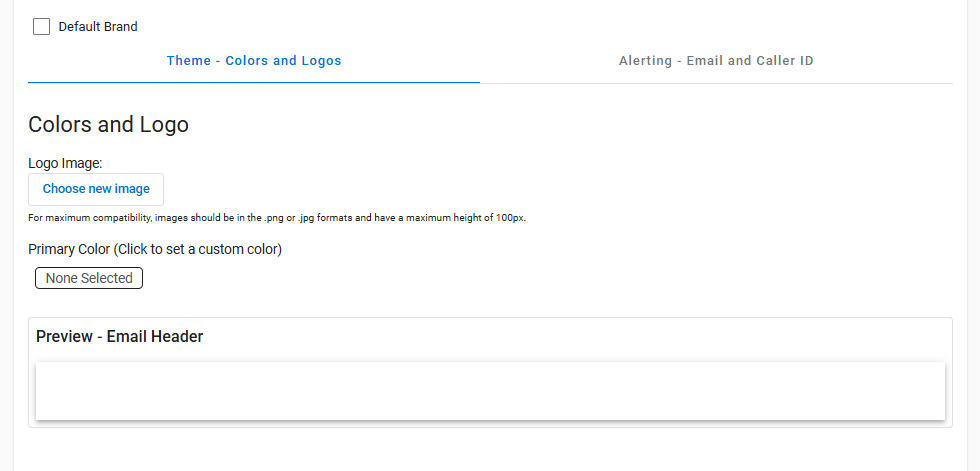
Logo Image: Select an existing image or upload a new image that will serve as the brand logo. For maximum compatibility, images should be in the .PNG or .JPG formats and have a maximum height of 100 pixels.
Primary Color: Select the main color used in communication
Preview - Default Theme: View a preview of the colors and logo
Fill out the fields on the Alerting - Email and Caller ID tab:
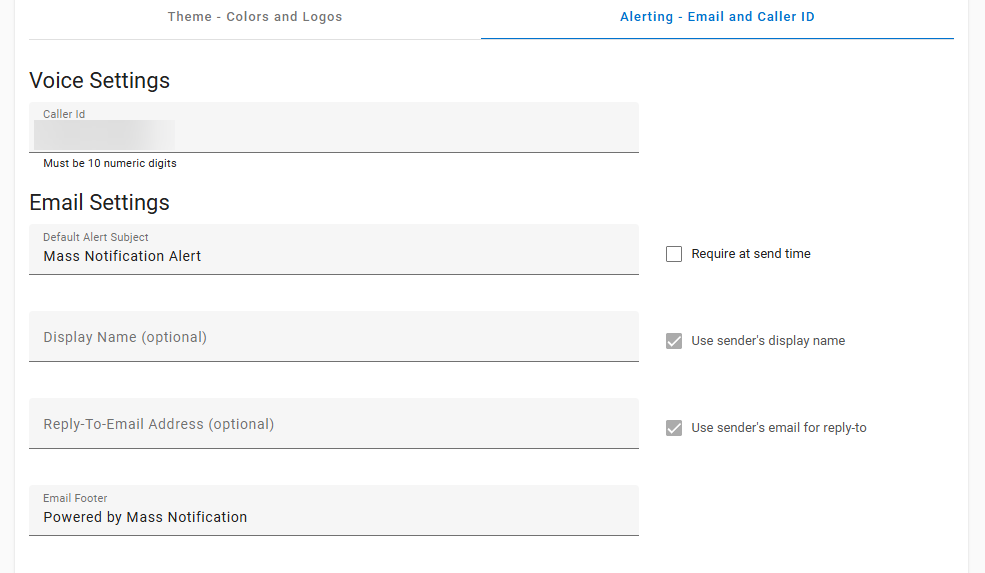
Voice Settings
Caller ID: Modify the caller ID associated with a voice message from this brand. A phone number must be saved in a brand to be used as the outbound caller ID for voice calls, and users cannot modify this value when sending an alert.
Email Settings
Default Alert Subject: The text that will appear in the email's subject line.
Require at send time: Check this option to set the Subject field as required on poll and alert forms that use this brand
Display Name (optional): The "From" name in an alert email
Use sender's display name: Check this option to set the brand's Display Name to the name and email address of the alert sender
Reply-To-Email Address: The reply-to address that will appear in any emails from the brand.
Use sender's email for reply-to: Check this option to set the brand's Reply-To email address to the email address of the alert sender
Email Footer: Text that will appear at the bottom of an alert email
If you have Access Control enabled, fill out the fields on the Access tab:
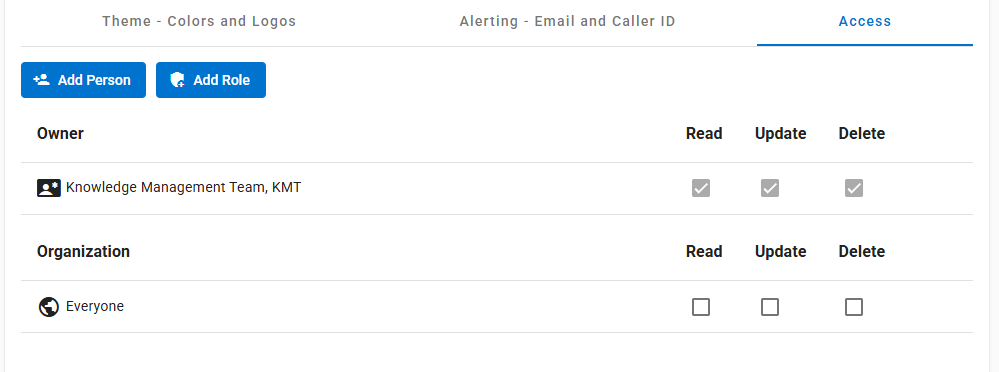
Add Person: Grant access to specific people
Add Role: Grant access to roles
Note:
An Access tab will only be displayed if Access Control is enabled for your tenant. If Access Control is not active, skip to step 8.
Click the Create button:

The brand has been created
Edit a Brand
Sign in to the system if you have not already
Navigate to Settings, then select Branding:
Click the name of the brand you wish to edit:
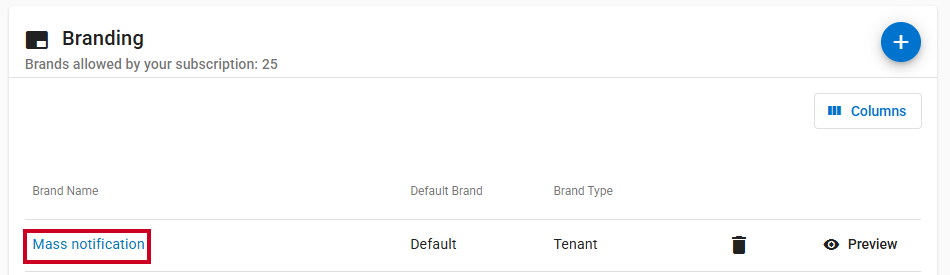
Update the Edit Brand fields as desired:
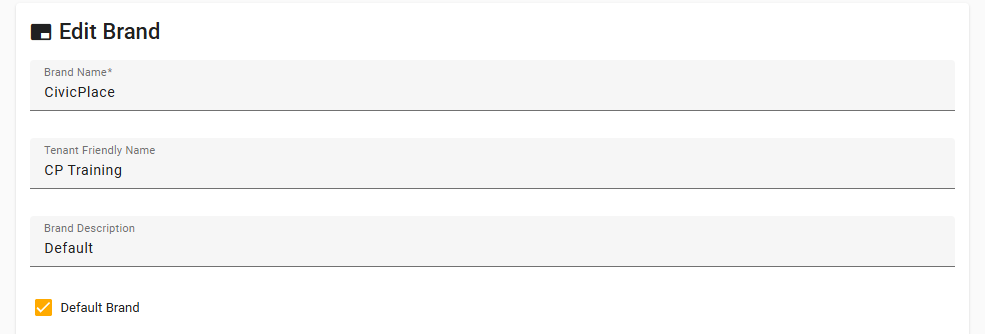
Brand Name (required): This name will be shown to the public
Brand Description: Gives additional context to the Brand Name
Default Brand: Check this option to make this brand the primary setting
Edit the fields on the Theme - Colors and Logos tab:
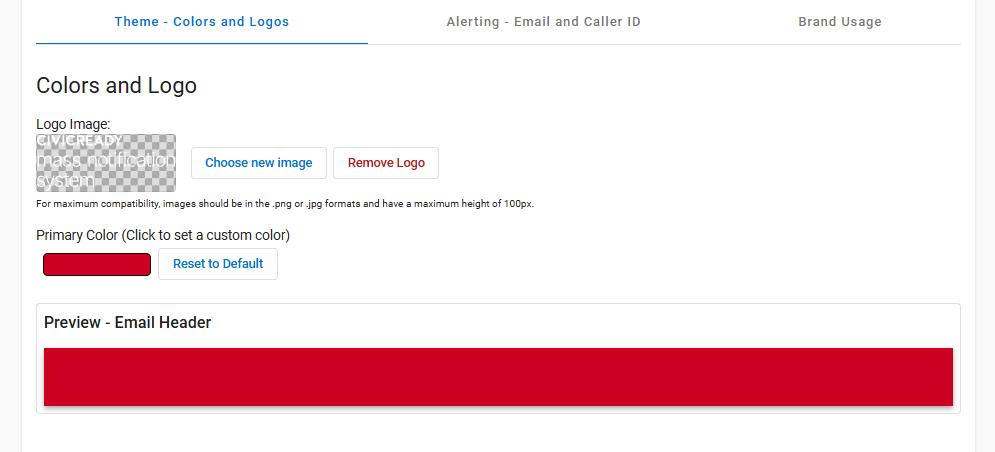
Logo Image: Select an existing image or upload a new image that will serve as the brand logo
Primary Color: Select the main color used in communication
Secondary Color: Select the secondary color used in communication
Preview - Default Theme: View a preview of the colors and logo
Edit the fields on the Alerting - Email and Caller ID tab:
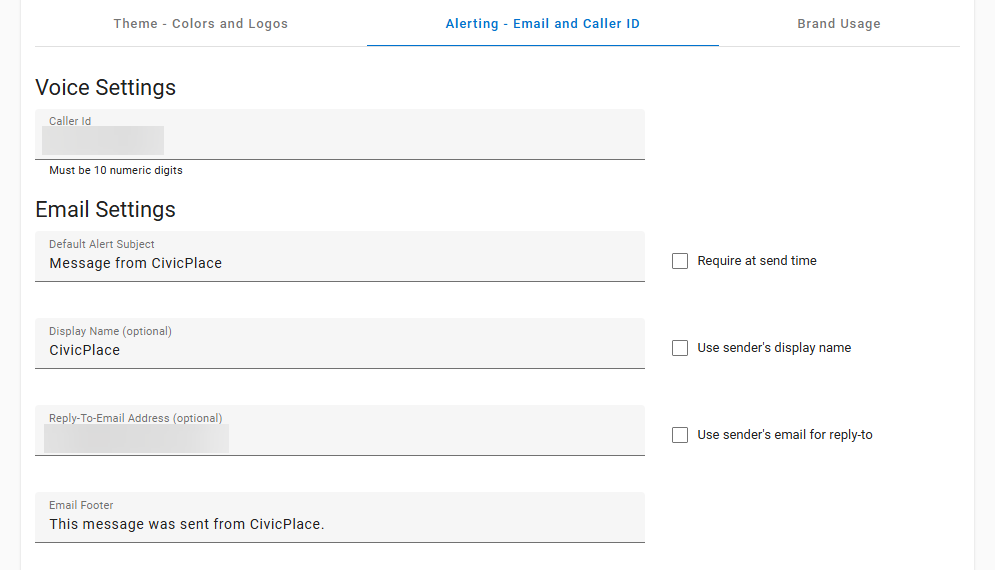
Voice Settings
Caller ID (identification): The number that will appear on a voice message
Email Settings
Default Alert Subject: The subject line that will appear in an email alert
Require at send time: Check this option to set the Subject field as required on poll and alert forms that use this brand
Display Name (optional): The "From" name in an alert email
Use sender's display name: Check this option to set the brand's Display Name to the name and email address of the alert sender
Reply-To-Email Address: The reply-to address that will appear in any emails from the brand.
Use sender's email for reply-to: Check this option to set the brand's Reply-To email address to the email address of the alert sender
Email Footer: Text that will appear at the bottom of an alert email
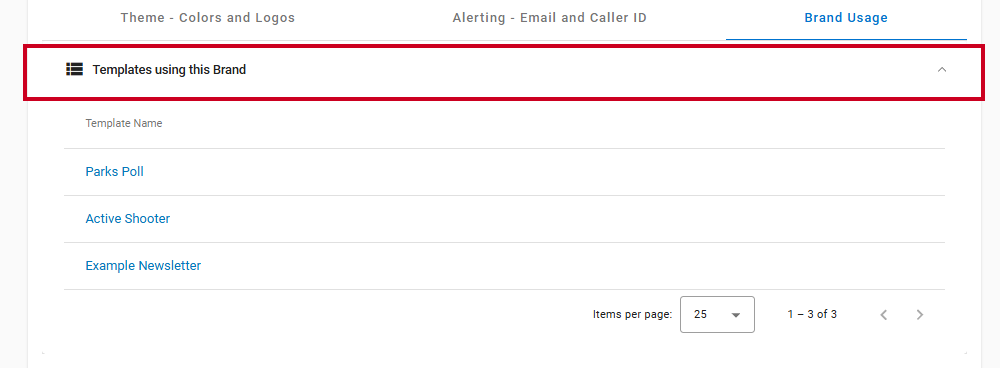
If the brand is associated with a message template, view the templates currently using the brand on the Brand Usage tab:
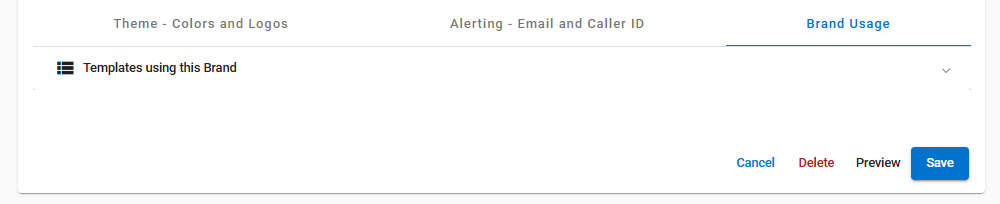
Click the Templates using this Brand drop-down to expand the list of templates:
Note:
A Brand Usage tab will only be displayed if the brand is already associated with an existing template. If you do not have a Brand Usage tab, skip to step 8.
If you have Access Control enabled, edit the fields on the Access tab:
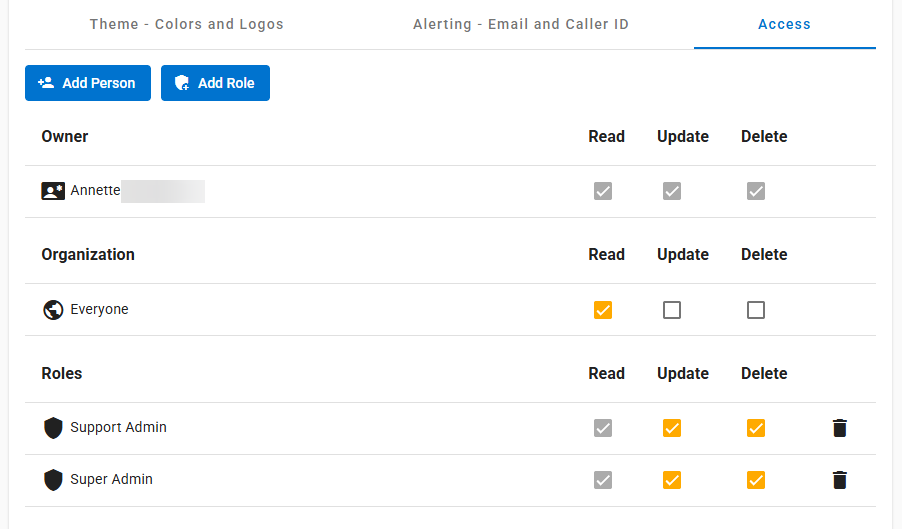
Add Person: Grant access to specific people
Add Role: Grant access to roles
Note:
An Access tab will only be displayed if Access Control is enabled for your tenant. If Access Control is not active, skip to step 8.
Click the Preview button to see your changes:

Click the Save button to save your changes:

Select a Specific Brand for an Alert or Poll
Sign in to the system if you have not already
Open the Send an Alert or Send a Poll forms
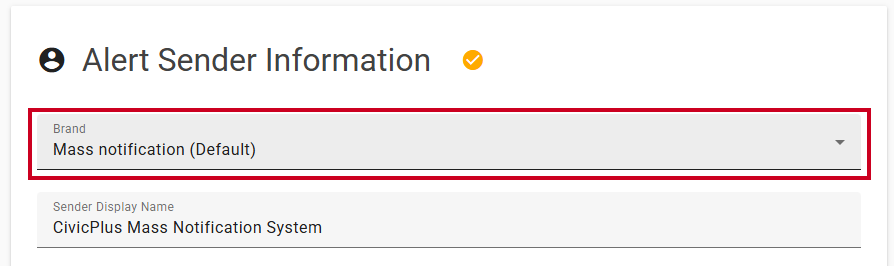
Select a Brand for your Alert or Poll from the Alert Sender Information card:
Note:
If you do not choose a specific Brand from the Alert Sender Information card, the system will automatically select the default brand for you. The attributes of the selected brand, including the Default Alert Subject, Display Name, Reply-To Email address, Logo, Primary Color, Caller ID, and Email Footer, will be incorporated into the Alert or Poll you send.
Associate a Brand with a Template
Sign in to the system if you have not already
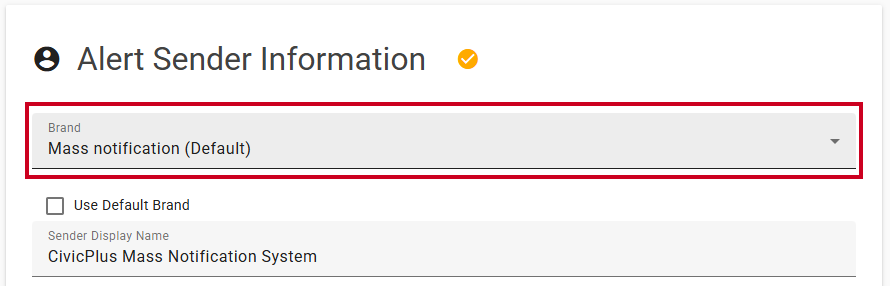
Select a Brand from the drop-down menu on the Alert Sender Information card:
Note:
Alternatively, you can select the Use Default Brand checkbox to associate the default brand with the template.
Delete a Brand
Important Note:
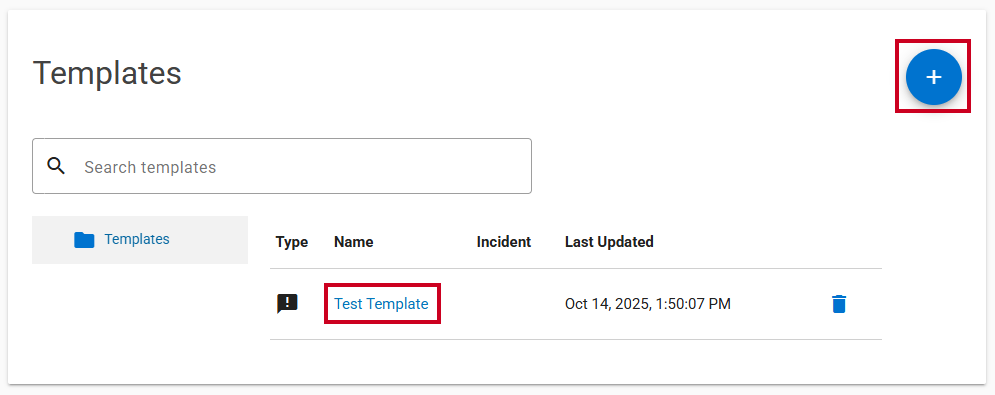
If a brand is linked to a template, you will need to first dissociate the brand from the template before you can delete the brand.
Sign in to the system if you have not already
Navigate to Settings, then select Branding:
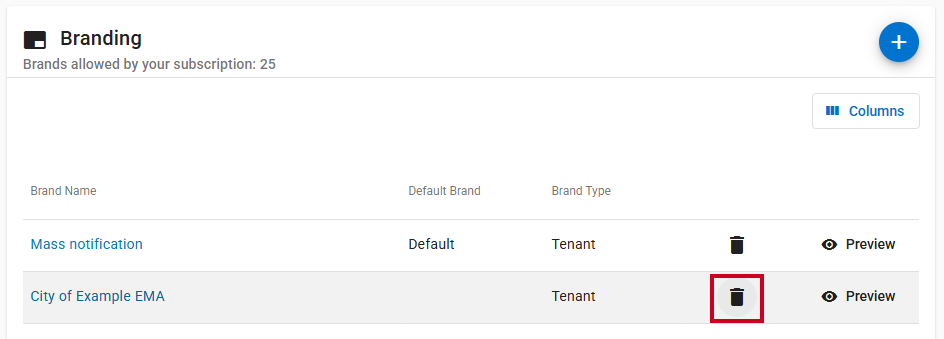
Locate the brand you wish to delete and click the trash can icon on the row:
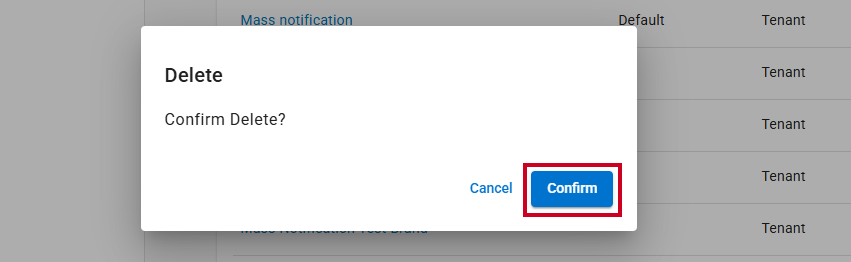
Click the Confirm button on the Confirm Delete pop-up that appears: