Drop-In Activities allow Members to check in without being registered in advance. This article will show you how to check a member into a drop-in activity. For more information about checking into activities, see the Check-In Overview article article.
Important Note:
Is your drop-in activity not appearing for members? If the activity uses the Program/Class type, it can only have one schedule attached to it.
Instructions
Navigate to Activities and select the Check-In option:

Click the Location Select option to select a location, if needed:

Scan or enter a Member Number, then click Scan, if desired:

Or use the Member Lookup option to search for a member, if desired:
Click Member Lookup:

Enter a Membership Number or Membership Name:

Click the Go button:

Click Scan Now next to the member's information:

Select a Drop-In Activity to check in to, as needed:
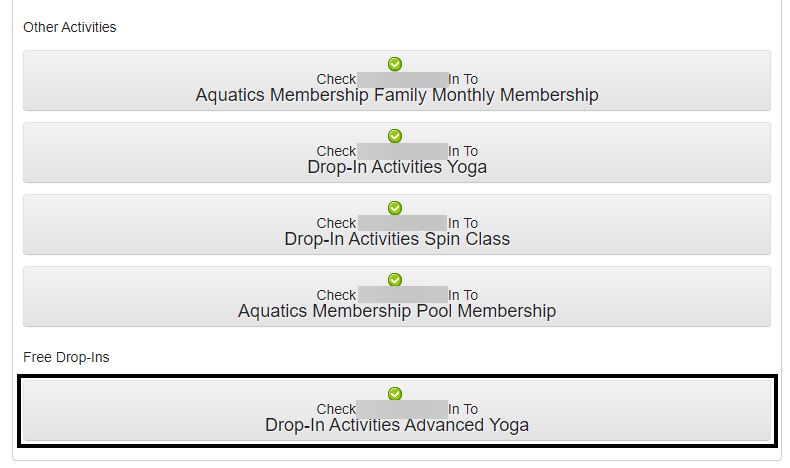
Note:
Click the drop-in activity again to deselect it.
View successful check-ins, if desired:
Click View More:

Successful check-ins will display “Success” in the Result column:
